3.9.6. Tutorial: Blob Storage Setup
Tutorial: Storage Provider with Blob storage
This tutorial covers the steps needed to setup your new subscription using blob storage. All the relevant source code and Azure YAML pipelines setup can be found in the samples repo, under the commercial-test branch.
With the sample provided, each developer will have the FakeXrmEasy license key in an environment variable, as well as a connection string using shared access tokens.
Please check the following setup steps required to run the samples demo.
Azure Blob Container Setup
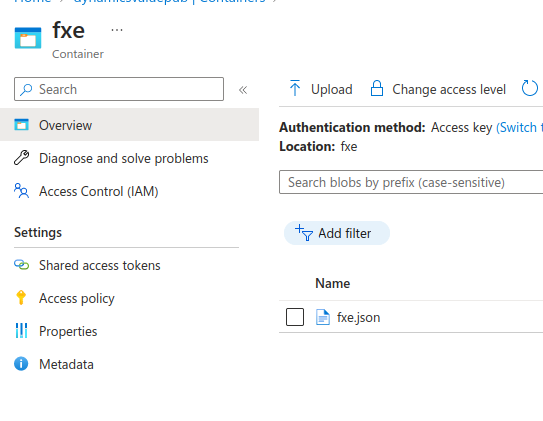
- Create a new blob container in your Azure Storage account. You can choose any name, in my case, I chosen “fxe”:
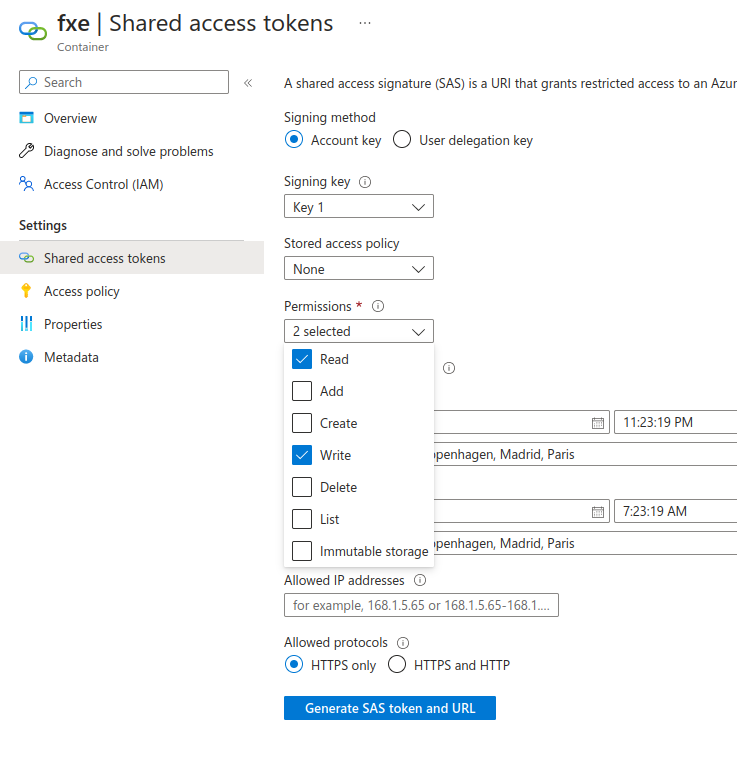
- Create a new Shared Access Token to this container. The token needs both Read and Write permissions. Please make sure to set an expire date that at least is enough to cover your subscription. The shared access token is a convenient way as it doens’t need invididual, per-user, setup.
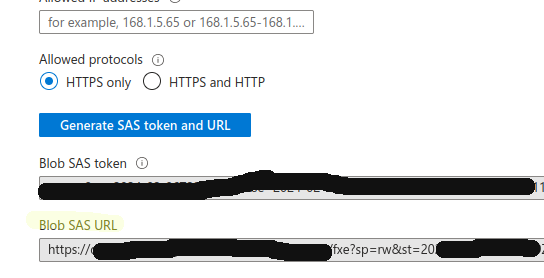
- Copy the Blob connection string (Blob SAS URL) and distribute it to the developers or users of FakeXrmEasy.
Developer workstation setup
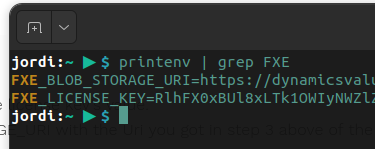
- Add a new FXE_LICENSE_KEY environment variable with the license key’s value.
- Add another environment variable called FXE_BLOB_STORAGE_URI with the Uri you got in step 3 above of the Azure Blob Container Setup.
- You might need to restart your PC for the environment variables to take effect.
On Linux they might look like (omitted for brevity):
Verify the developer setup
Go to the samples repo, fork it, and checkout the commercial-test branch, and open the FakeXrmEasy.Samples.v2only.sln solution.
If everything is working correctly, you’ll see that the project builds fine and all the unit tests in the sample solution are green.

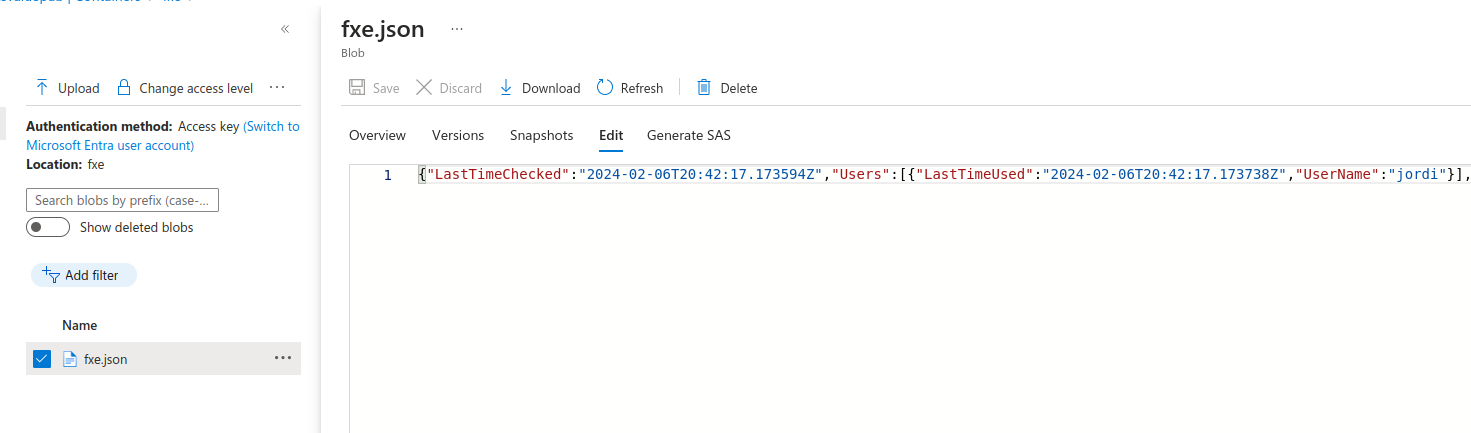
- You can also verify that if you go to the blob container, you’ll see that a new fxe.json file was created with information about your users.
Azure Devops Build pipelines setup
- The samples repository also have a very simple yaml pipeline to build the solution and run the tests.
- You’ll need to add the FXE license key as environment variable there in order to be picked up by the tests too.
Here’s a sample of a YAML pipeline that sets de license key which is setup as a secret in Az DevOps
Non-Azure Devops Build Pipelines setup
- When you run a build in Azure DevOps, FakeXrmEasy will automatically check it runs inside the pipeline and no extra steps are needed other than setting the license key above. When you run a build using another platform (i.e. GitHub actions or Gitlab), you’ll need to tell FakeXrmEasy explicitly. This can be easily done by setting an environment variable FAKE_XRM_EASY_CI as “1”.