Technical guidance for Developers
Migrating FakeXrmEasy versions 1.x to FakeXrmEasy version 2 or later
FakeXrmEasy versions 1.x is a deprecated package and it will stop receiving updates soon.
This post provides technical guidance developers can use to migrate their existing projects to the new, commercially supported, versions of FakeXrmEasy.
Even though the newer versions use a new middleware which is a rewrite of FakeXrmEasy v1.x, most of its api is forward compatible.
This post covers the few steps you’ll need to do when migrating projects from versions 1.x.
Choosing the right major version: v2.x or v3.x?
FakeXrmEasy v1.x could be used to build and test both server-side applications (plugins, custom workflow activities, custom actions) and client-side applications in .NET (MVC portals, Apis, Console Apps, etc).
Going forward, the new Dataverse SDK supports a new DataverseClient package which is meant to be used for client-side applications in .NET Core, while still supporting the traditional CoreAssemblies packages for server-side development.
This is important because for server-side development you should continue to use the usual CoreAssemblies package.
To cover both scenarios, FakeXrmEasy provides 2 major versions:
Versions 2.x : These versions depend on the traditional Microsoft.CrmSdk.CoreAssemblies and therefore supports server-side development. Use this major version for any server-side code (i.e. Plugins, Custom Workflow Activies, Custom Actions / Apis, etc)
Versions 3.x: These versions target .net core (net8.0) and use the latest Dataverse Service Client package 1.2.10 (as of the date of this post). Use this version for any new client-side application. Check the official documentation from Microsoft about the latest Dataverse ServiceClient here
Therefore, if you plan to build server-side applications, you should use version 2.x, otherwise use 3.x instead.
The following covers the steps needed to migrate projects.
Refactor existing XrmFakedContext classes into a base test class
Some time ago we announced that FakeXrmEasy versions 2 and later was a rewrite of v1.x where we introduced a new fully configurable middleware.
Ideally you would need to setup that middleware initialisation once per test project. Maybe two or more different setups depending on the use case: i.e. if you use a combination of tests with the brand new Pipeline Simulation feature and without it.
In order to make the migration process a whole lot easier, it is best to refactor any pre-existing test project that was using FakeXrmEasy so that it would use an instance of an XrmFakedContext class to a separate base test class.
This pattern was announced in the announcements repo here.
Please review any existing reference to a XrmFakedContext constructor and move it to a base class so it looks like this example:
public class FakeXrmEasyTestBase
{
    protected readonly IOrganizationService _service;
    protected readonly XrmFakedContext _context;

    public FakeXrmEasyTestBase()
    {
        _context = new XrmFakedContext();
        _service = _context.GetOrganizationService();
    }
}
Uninstall FakeXrmEasy v1.x version
At this point uninstall FakeXrmEasy package using either the CLI or the Nuget Package Manager in Visual Studio.
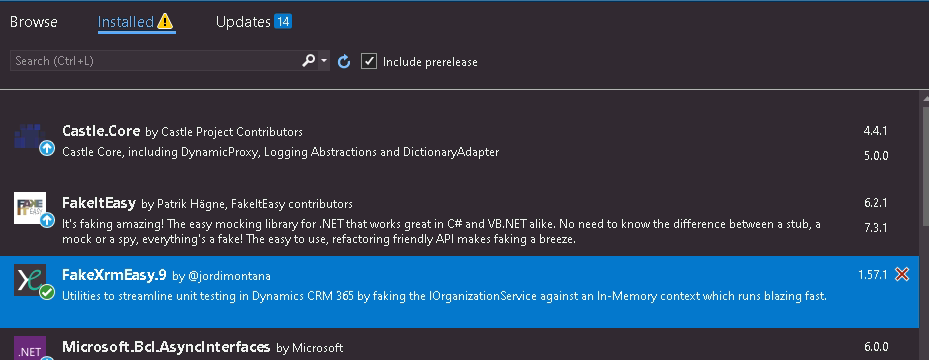
If using the Nuget Package Manager, search for the current installed FakeXrmEasy package:
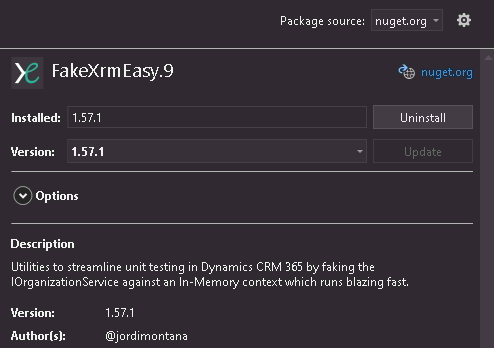
And then uninstall it:
Install relevant FakeXrmEasy v2.x version
Next, search for the newer versions of FakeXrmEasy. Keep in mind the newer packages use a slightly different naming convention where an extra “v” was added to the package name as follows:
| Package Name in v1.x | Package Name in v2.x | Package Name in v3.x |
|---|---|---|
| FakeXrmEasy.9 | FakeXrmEasy.v9 | FakeXrmEasy.v9 |
| FakeXrmEasy.365 | FakeXrmEasy.v365 | FakeXrmEasy.v365 |
| FakeXrmEasy.2016 | FakeXrmEasy.v2016 | FakeXrmEasy.v2016 |
| FakeXrmEasy.2015 | FakeXrmEasy.v2015 | FakeXrmEasy.v2015 |
| FakeXrmEasy.2013 | FakeXrmEasy.v2013 | FakeXrmEasy.v2013 |
| FakeXrmEasy | FakeXrmEasy.v2011 | not supported |
Ideally, if you’re using a certain component type in your project (plugin, codeactivities), you should only need to install the relevant package for it. If you use a mix of different components in your project (single assembly for plugins and codeactivities, for example), it might be easier to go for the main include package from the table above. For more details please check the Installing section.
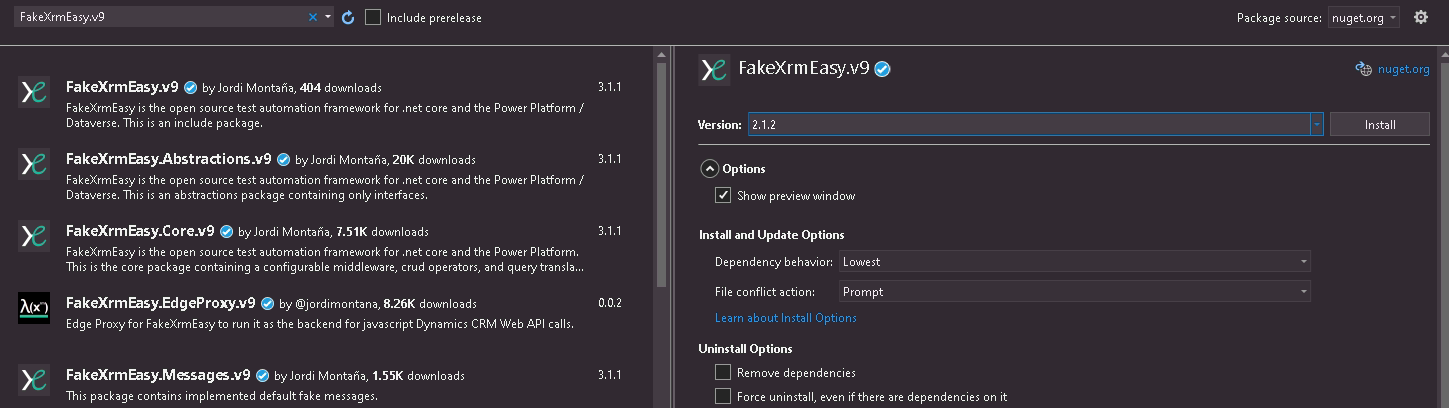
With that in mind, we’ll continue by choosing the relevant version in the Nuget Package Manager, FakeXrmEasy.v9 and version 2.1.2:
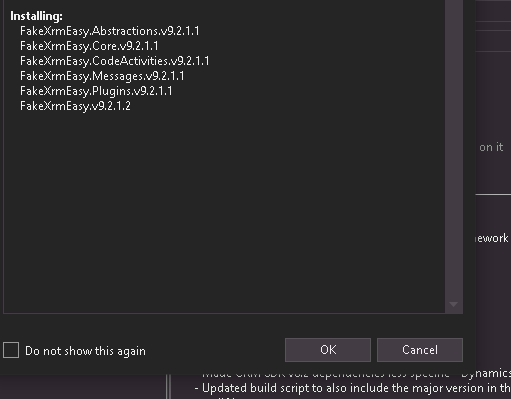
Once the the package is chosen, it’ll automatically pull all the dependent packages for you:
Read and Accept the License
As usual, the Nuget Package Manager will prompt you with a confirm dialog to accept the package licenses. And because we are responsible developers, we should always always read the licenses before installing… right? ;)
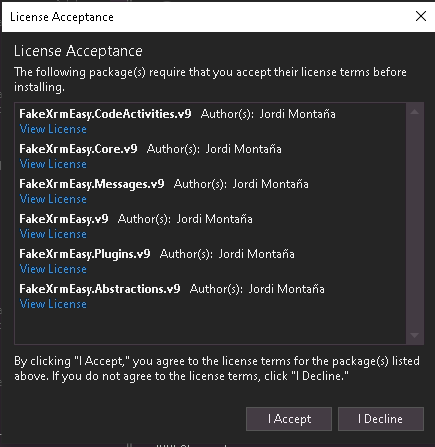
To save you some time, all the new FakeXrmEasy packages share the same new OSS license, which is still free of charge for most scenarios, but requires a commercial license for propietary code and commercial use. You can still download and use FakeXrmEasy for evaluation purposes in a propietary and commercial context (i.e. build a PoC).
Check out our licensing section for more details, and specially, the licensing FAQ which will cover most relevant questions already.
Include new Namespaces
After installing, if you try to build the project you’ll probably get several errors as we moved things around into dedicated namespaces.
For example, in a test project with plugins, you might get the following errors:

These can be resolved easily by adding the following namespaces:
using FakeXrmEasy.Abstractions.Plugins;
using FakeXrmEasy.Plugins;
By adding these and other similar namespaces we’ll get past the initial build errors.
Add new middleware configuration
If you refactored all the references to XrmFakedContext class as explained in the post above, then it’s time to setup the new middleware configuration, which we’ll do in the same base test class we defined earlier.
To do this, replace the XrmFakedContext initialisation to use a middleware configuration similar to the one below.
- Add new necessary usings
using FakeXrmEasy.Abstractions;
using FakeXrmEasy.Abstractions.Enums;
using FakeXrmEasy.FakeMessageExecutors;
using FakeXrmEasy.Middleware;
using FakeXrmEasy.Middleware.Crud;
using FakeXrmEasy.Middleware.Messages;
- Replace the declaration of XrmFakedContext by its associated interface, which is part of the FakeXrmEasy.Abstractions namespace
protected readonly IXrmFakedContext _context;
- Add the middleware initialisation and choose a relevant license
public class FakeXrmEasyTestBase
{
    protected readonly IOrganizationService _service;
    protected readonly IXrmFakedContext _context;

    public FakeXrmEasyTestBase()
    {
        _context = MiddlewareBuilder
                    .New()

                    .AddCrud()
                    .AddFakeMessageExecutors(Assembly.GetAssembly(typeof(AddListMembersListRequestExecutor)))

                    .UseCrud()
                    .UseMessages()
                    .SetLicense(FakeXrmEasyLicense.RPL_1_5)
                    .Build();

        _service = _context.GetOrganizationService();
    }
}
Run Tests
The last step, after setting up the middleware properly, is to rerun any pre-existing unit tests.
At this stage you should have already successfully upgraded your project to the latest version of FakeXrmEasy!
Congrats!
If you encounter any issues during the migration that was overlooked in this post, please feel free to raise an issue at our github issue tracker here.
Migrate to 3.x versions
If you want to migrate to a 3.x version you might want to start off with a brand new project template that uses the new SDK project type, and then install the same FakeXrmEasy packages but starting with major version 3.
At this time, all the package names and namespaces are mutually compatible between v2.x and v3.x versions. The main difference is the SDK under the hood and the target framework they support (net462 for v2.x and .netcoreapp3.1 for v3.x). In addition, v3.x might support additional features that are DataverseClient specific, like async IOrganizationService interfaces, for instance..